From Start(er) to Finish
Step zero - The flour
Every good bread starts with great flour! This is a hugely important piece of the overall equation in bread baking. We use fresh milled flour from Janie’s Mill for all varieties of our bread. From a High-Protein and Hard Red Wheat combination in the hearth breads, to a Dark Rye flour for our Bavarian Rye loaves. No store bought flour can compare to a fresh milled flour in taste, reactivity and overall nutrition!
Step one - The Starter
The lifeblood of the entire process. The starter, or mother, is a small amount of the preferment that can be easily stored and invigorated to suit the needs of the baking week. It is fed with an equal mix of the flours we use during baking and water. This lives in the fridge 6 days a week for us, then is brought out to bring the Levain to life
Step two - The Levain
Once the starter has been fed and is bustling with activity we empty the jar into a larger fermenting tub and add equal parts water and whatever flour we will need (wheat for hearth loaves, rye for rye, etc.). The small amount of starter in combination with the new larger flour mixture will become the new preferment during the main mixing process.
Step three - The mix
This step is where our future bread will start to form. The levain is portioned out to more empty fermenting tubs then is combined with whatever extra ingredients may be required (salt, grains, seeds, fruit, nuts, etc.), then the water and flour is measured and added. Whether it’s 50 loaves worth of dough, or 500, Nick hand mixes every single tub to create a slowly forming gluten network that will allow the dough to start hydrating itself without the use of a forceful mixer. By allowing the dough to develop slowly it prevents the inside crumb of a finished loaf from being to dense and tight.
Step fOUR - The bULK rISE
This step requires very little effort, the dough needs to sit, covered and alone for a while to develop and allow the water to continue to penetrate into the grain. This portion of the process is extended in our method to last about 24 hours.
Step fIVE - sTRETCHING AND fOLDING
Here we get to take our jumbled mess of sticky dough and see how it is developing. Grabbing the dough on one side and pulling it up and out of the tub it will start to stretch with the available well developed portions, then we fold that back over onto the rest of the dough and repeat on all 4 sides. After several times of doing this (with rest between), the dough will freely pull way from the sides of the fermenting tubs and feel smooth and almost silky. With extremely high-hydration dough, this step is crucial as the dough is to wet to knead like with traditional yeasted bread. Once the stretching, folding and turning is done then it goes into the cooler for a full night of rest!
Step SIX - dIVIDE AND cONQUER
The next day, our cold fermented dough is ready to be divided into smaller portions from these large dough masses. The dough is dumped out, weighed to appropriate portions, gently shaped and let to rest for a short while. This step is known as “bench rest” and can last anywhere from 10 to 30 minutes. The sole purpose of this is to let the dough relax so it can be shaped more effectively. After this rest period the dough can be shaped to fit its rising basket or loaf pan with a tight seam on the sides and bottom of the dough. These are stacked onto racks, then will sleep again for another day in the cooler.
Step seven - The Final Rise
This is a critical rime for the dough to relax into its basket and rise slowly in a cold environment. Very similar to the bulk rise, this is a time for the dough to go untouched and continue to develop.
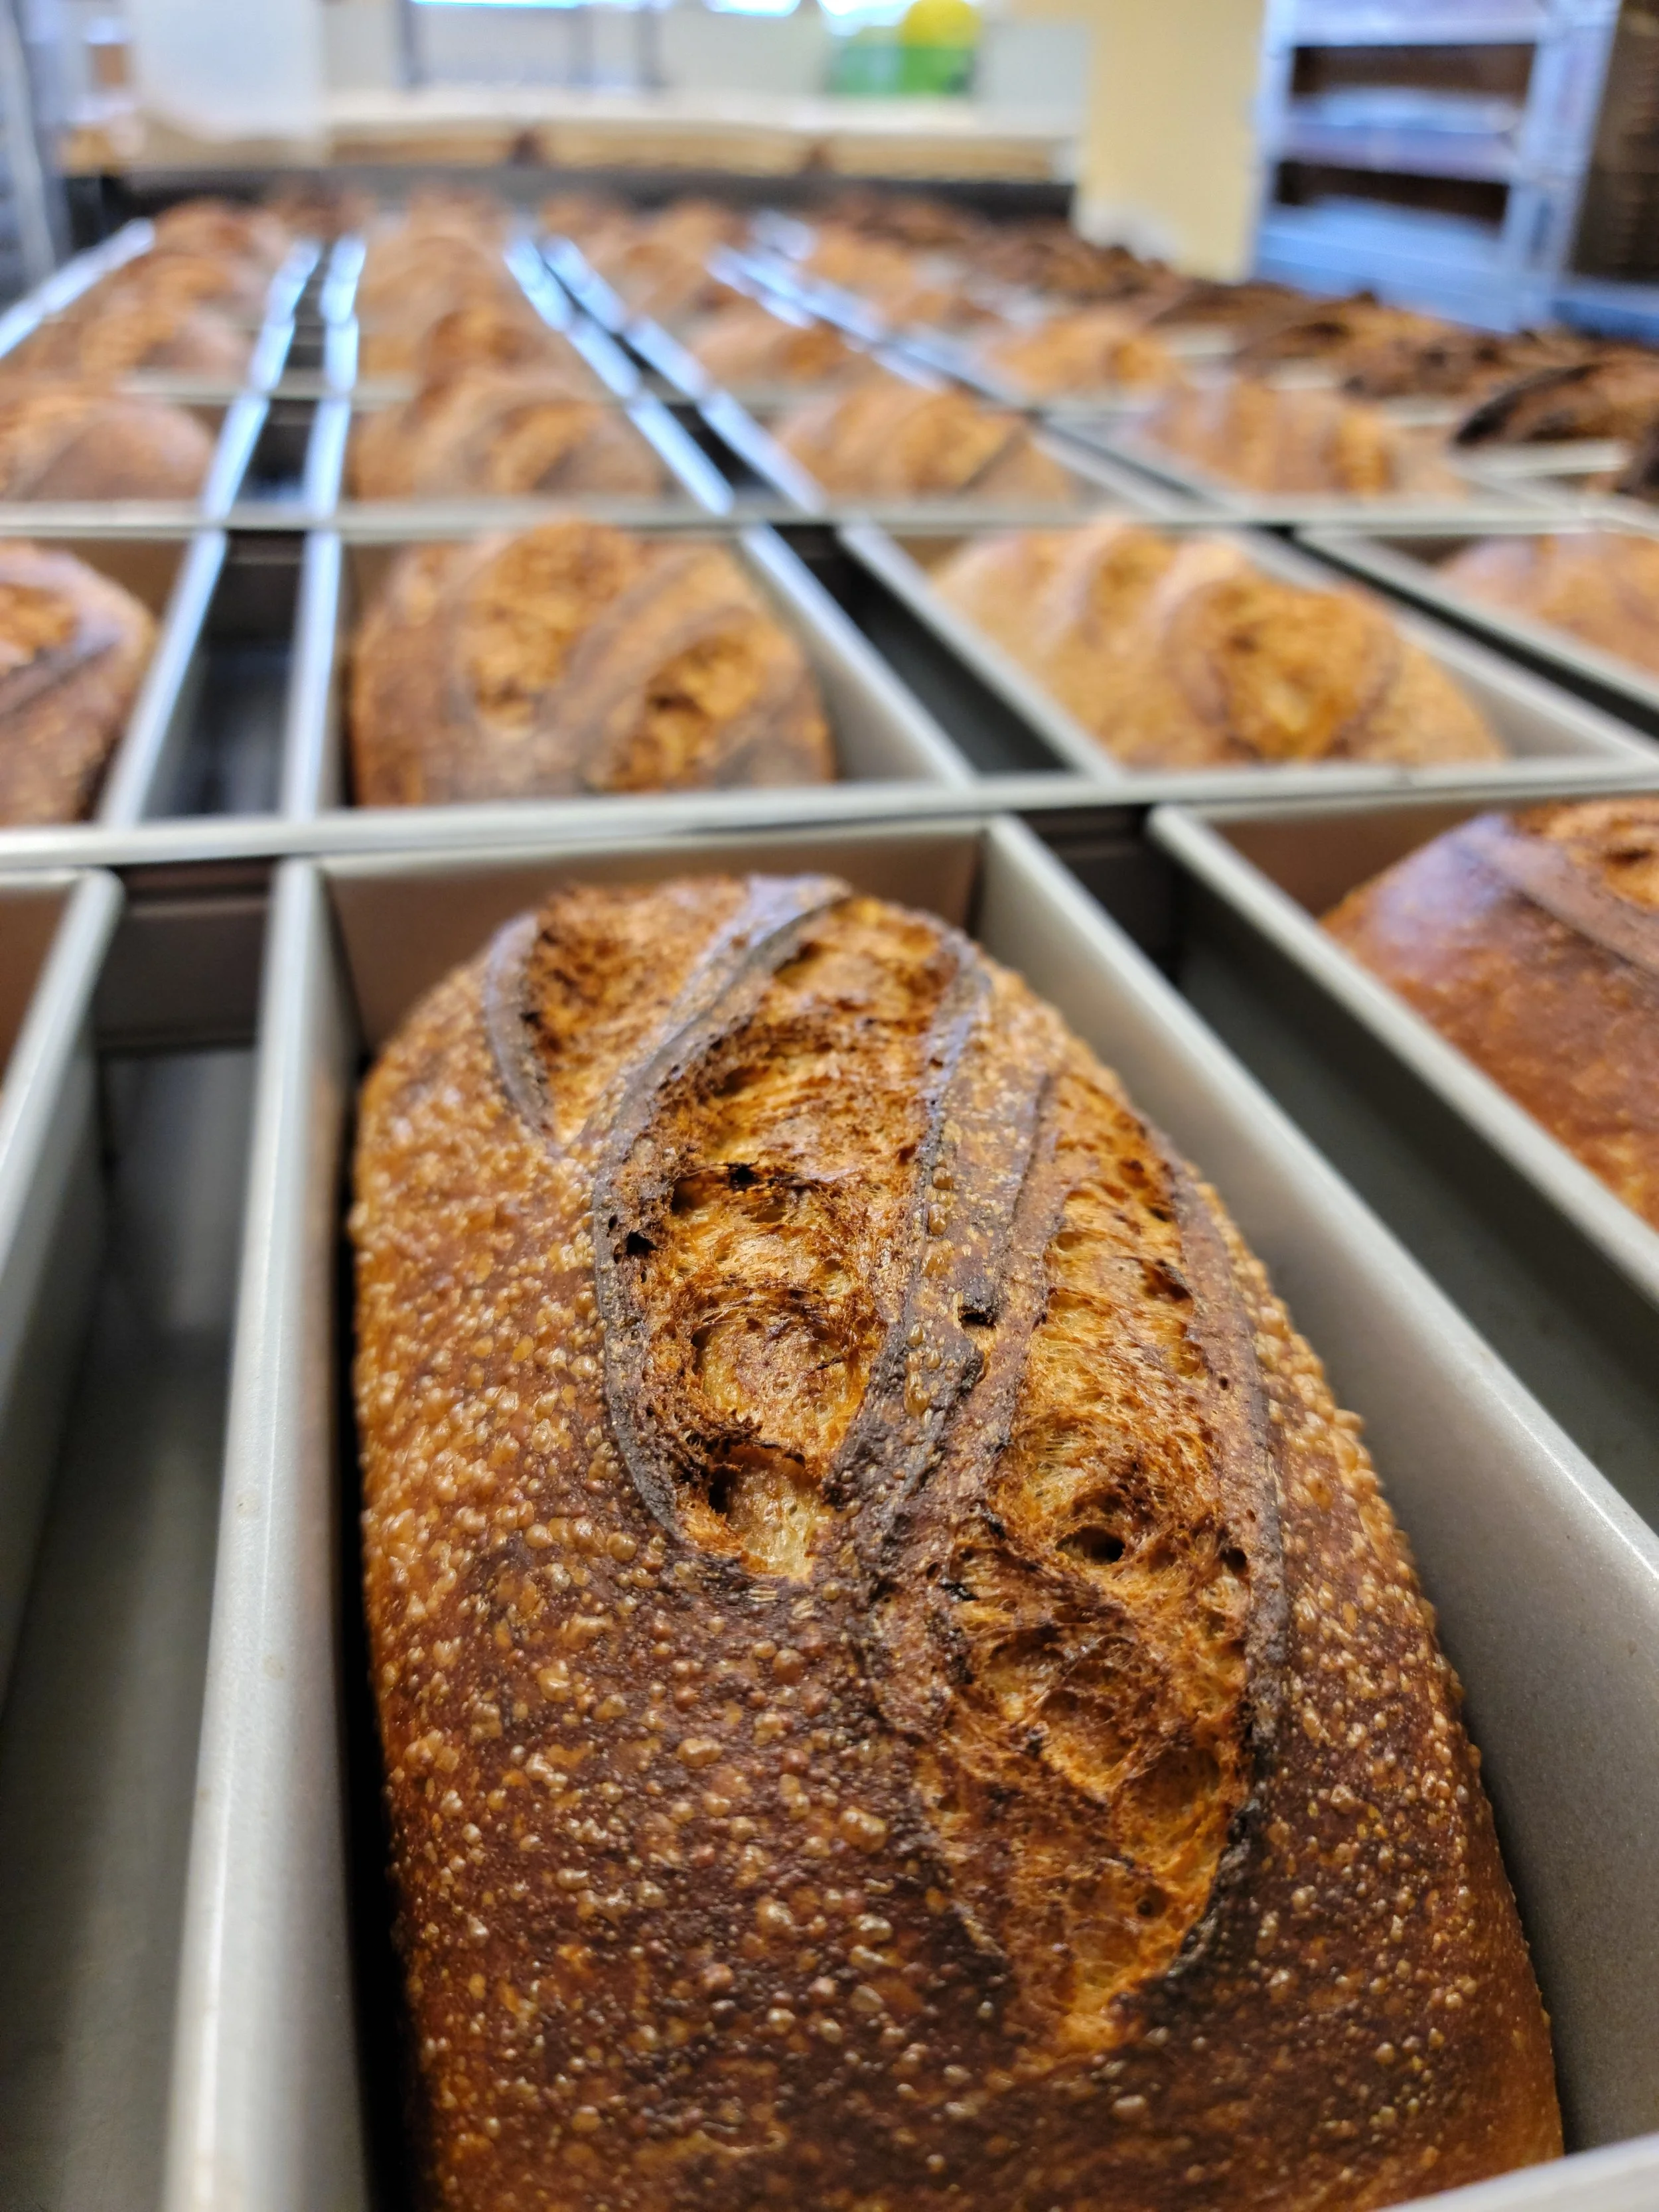
Step eight - to the ovens!
The culmination of all of our hard work, baking day! Now we take all of our baskets of risen dough, coat them with wheat bran (this is the bran that is sifted out of the High-Protein and other flours from Janies Mill so we can always use the whole grain), then turn them out onto our wooden peel, score the top with a Lame (small blade) and slide them onto the hearth in the oven. The ovens are injected with steam for roughly half the baking cycle to allow the bread to rise without forming a crust until the very end. After the bread is pulled out and cooled, we package them for stores, markets and personal enjoyment!
Step nine - consume with joy, all week
Sourdough bread stays fresh for a very long time, as is the case for most high-hydration fermented breads. Our bread will stay counter-fresh in the bag for 3-5 days, or in a sealed container in the fridge for longer.
Want to freeze? No problem! Slice it fresh, then find an air-tight plastic container or wrap and freeze for up to a year!
Did the bread get to hard after accidentally leaving it out? Place the entire loaf in the oven at 350 Degrees for about 5-10 minutes, or until soft. Don’t let it go for to long!
Thank you for reading and learning more about what we do.
- The Raterman Bread Team -
Bread is Only As Good As Its Flour